How I Cleaned My Car’s Upholstery for Less Than $10
Some products in this article are from our partners. Read our Advertiser Discloser.
I drive the classic Mom Car. You know the type – it’s crusted with spilled drinks, the crumbs of fishy crackers, and those annoying bits of black turf from soccer practice. Quite frankly, it’s almost always a hot mess. While I do periodically take the time to empty it out and vacuum it, the truth is it needed some more TLC than that.
The Internet is no short of solutions. Just head to Pinterest and you’ll see all these DIY type posts with make it yourself cleaners with oils or vinegar or Blue Dawn (which seems to be the cleaning solution to just about everything). Today I’d like to share what I decided on. Is it the most amazing car clean you’ve ever seen? Probably not. Will I be putting car detailers out of business? Unlikely. Are there products likely better than the ones I used? Sure.
But here’s what my method gets you: it’s cheap. REALLY cheap. In fact, just about everything I’m using in my post today I purchased at the Dollar Tree. This is a good kind of car cleaning method if you want good results that will make you feel a ton better about your car but you don’t want to pay squat for it.
Here’s what I picked up at the Dollar Tree to prep for my monster car clean sesh:

Why this? Well, I found a comment someone left on a random YouTube video suggesting its use for car upholstery. At $1 a bottle, I decided it would be AWESOME to try. I also picked up some Awesome Orange All-Purpose Degreaser to use on the tougher, ground-in dirt stains on the floor.
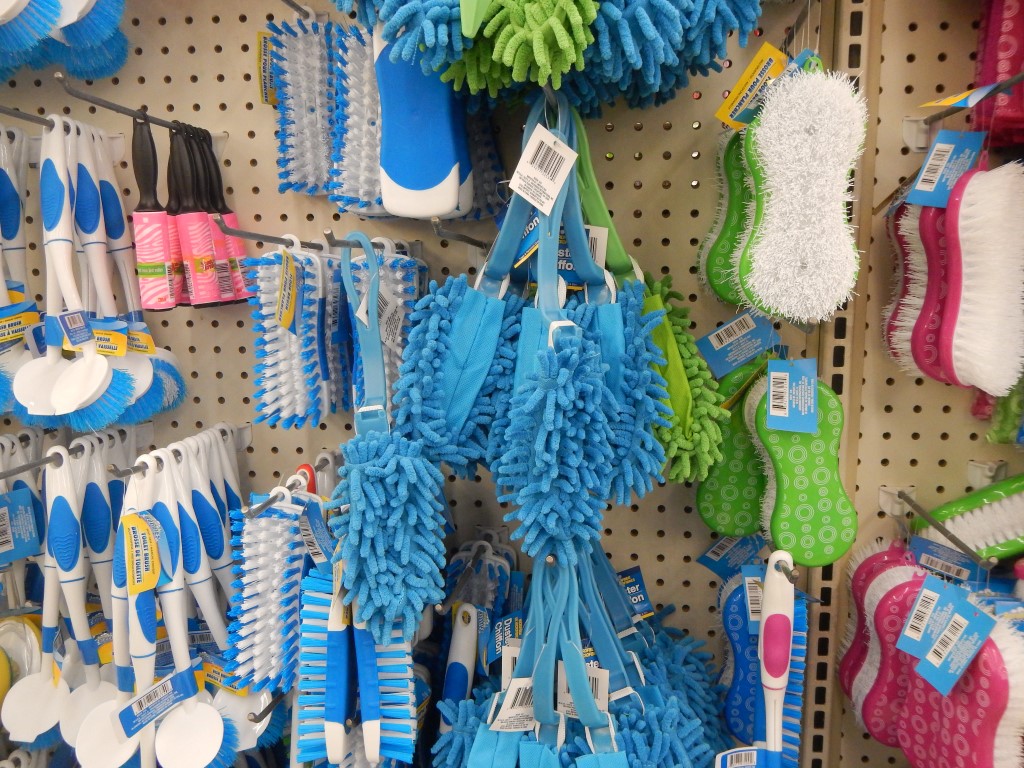
The Dollar Tree has a plethora of scrubbing devices. I chose the pink one at far right. I wanted something with stiff bristles to scrub away the grime.
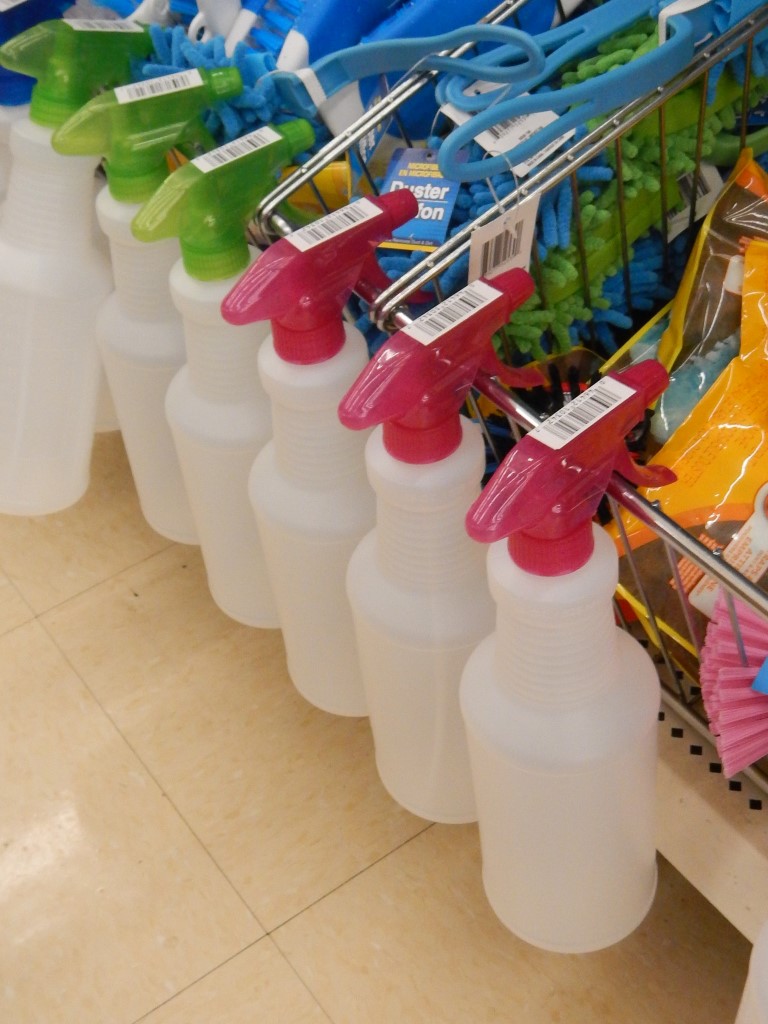
I found some empty spray bottles as well and picked one up. You could use this if you end up making one of those fancy homemade upholstery cleaners. Me? I was just planning on using it for water.
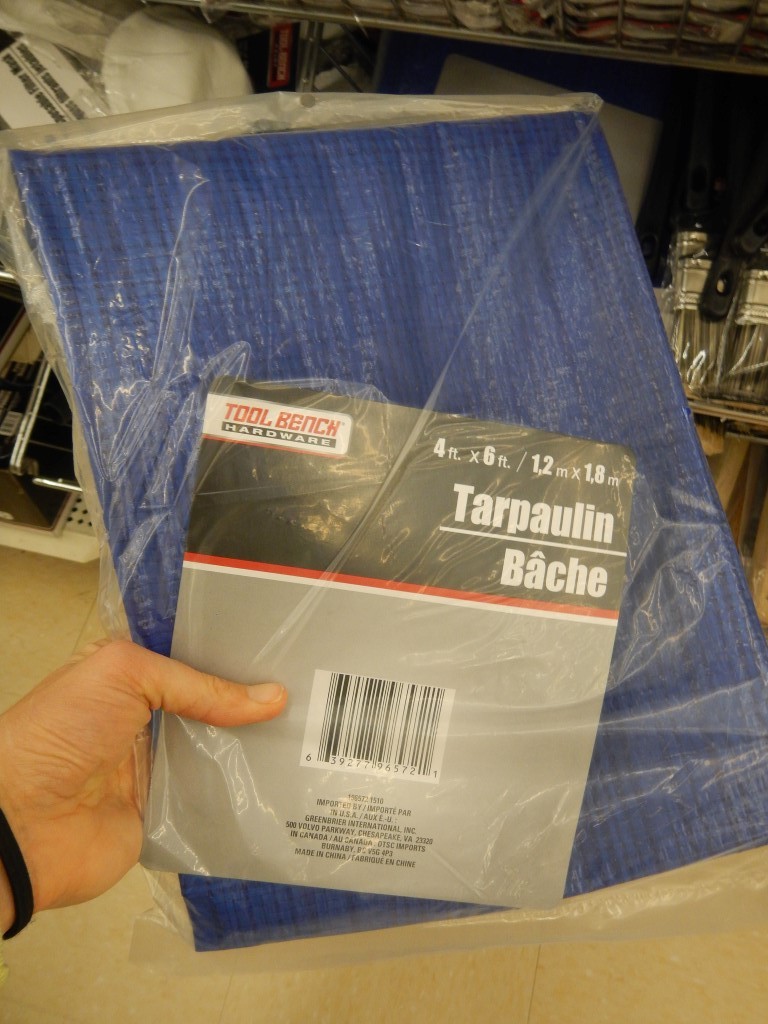
Look what I found – it’s a tarp! I found it down the automotive/hardware aisle. It ended up being large enough to clean all my car’s floor mats on.

I read a great tip that you can use paintbrushes for cleaning out small crevices in your car’s interior – like vents in your dashboard.
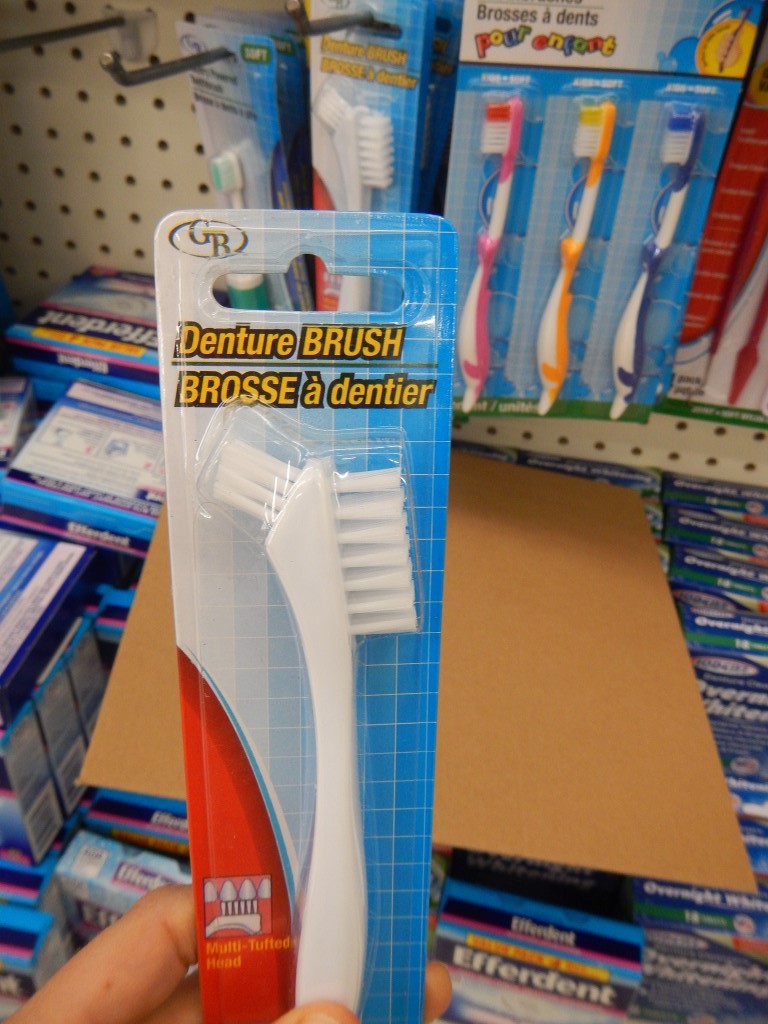
I also wanted to pick up a toothbrush for scrubbing those small surfaces. I decided on this denture brush as it had two different sizes of scrubs.
All told, my bill came to $9.78 including tax for 9 items. Not bad! Now, it was time for the hard work.
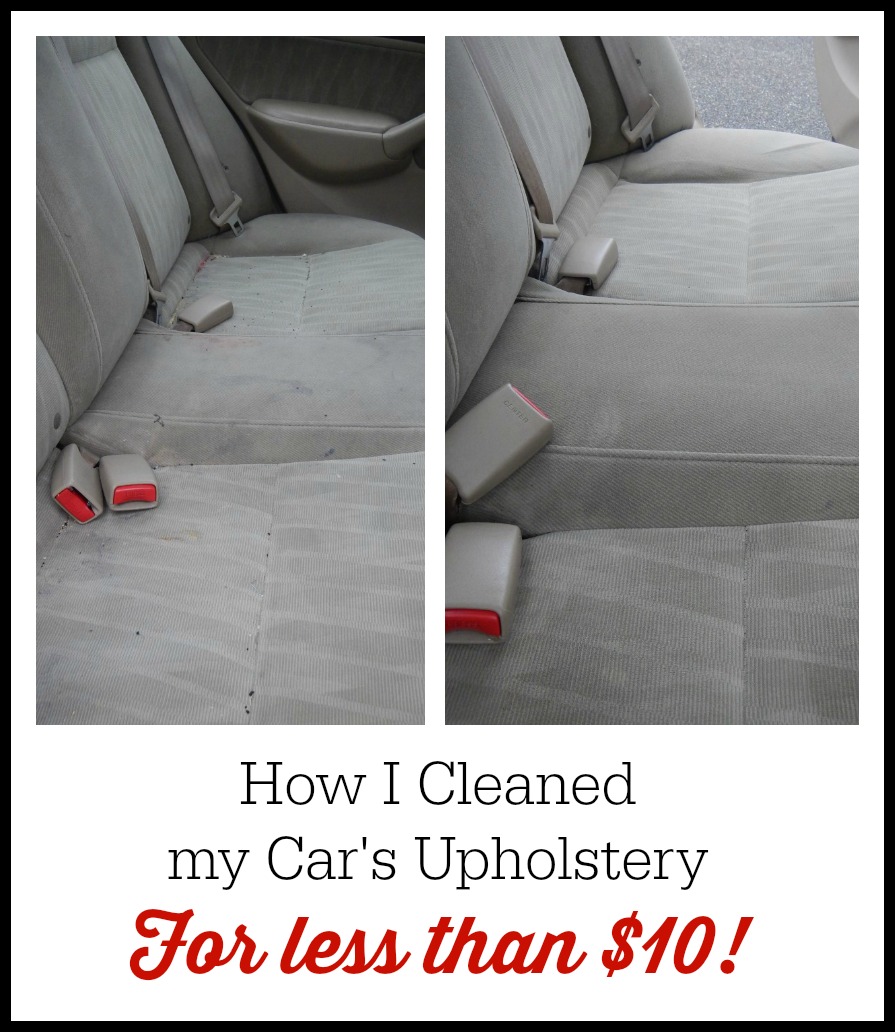
First, let’s assess the damage, shall we?
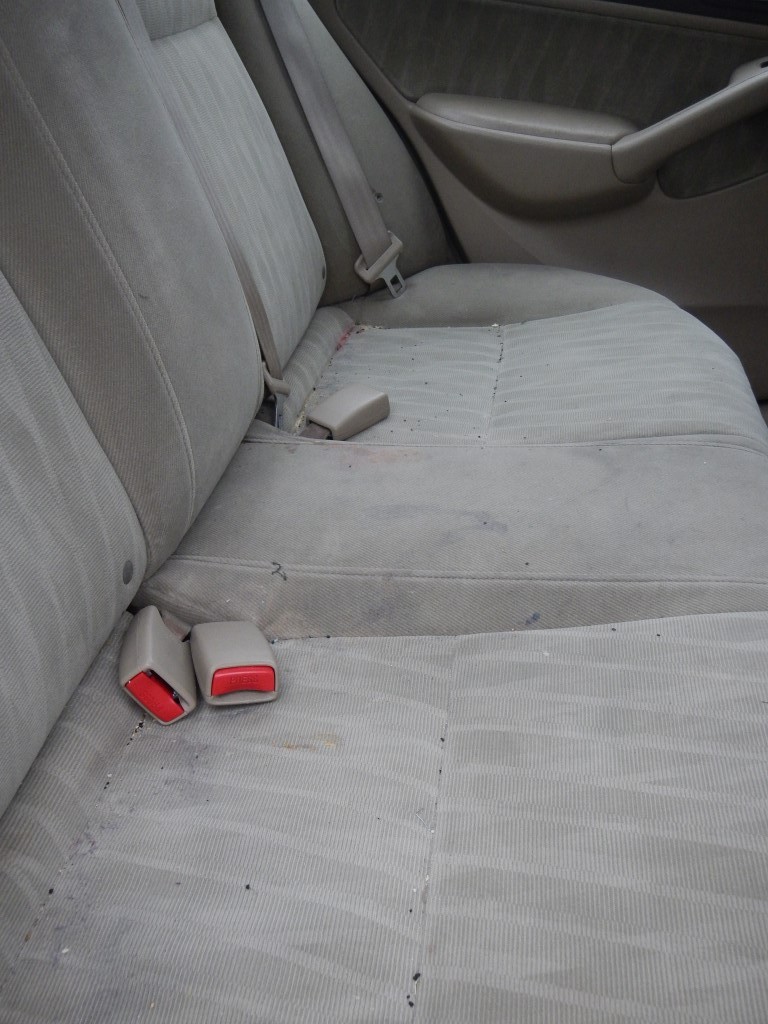
EEK!
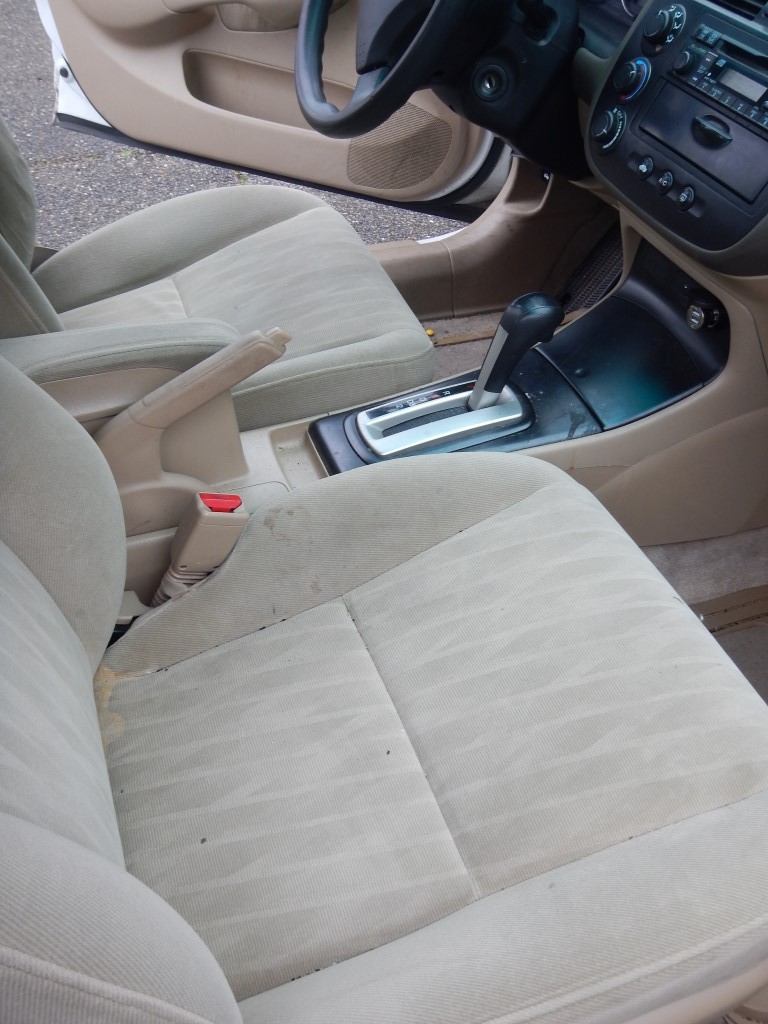
I hope that by sharing these embarrassing photos at the very least you’re out there going, “phew! Glad it’s not just me!” And, I should add, this is after I removed books, clothes, toys, and empty Starbucks cups. (So yeah, this isn’t even the full brunt of it!)
Now that the shock and horror has set in, let’s get cleaning. I’ll share each step I took with some detail, and then recap it all nice and pretty for you in the end.
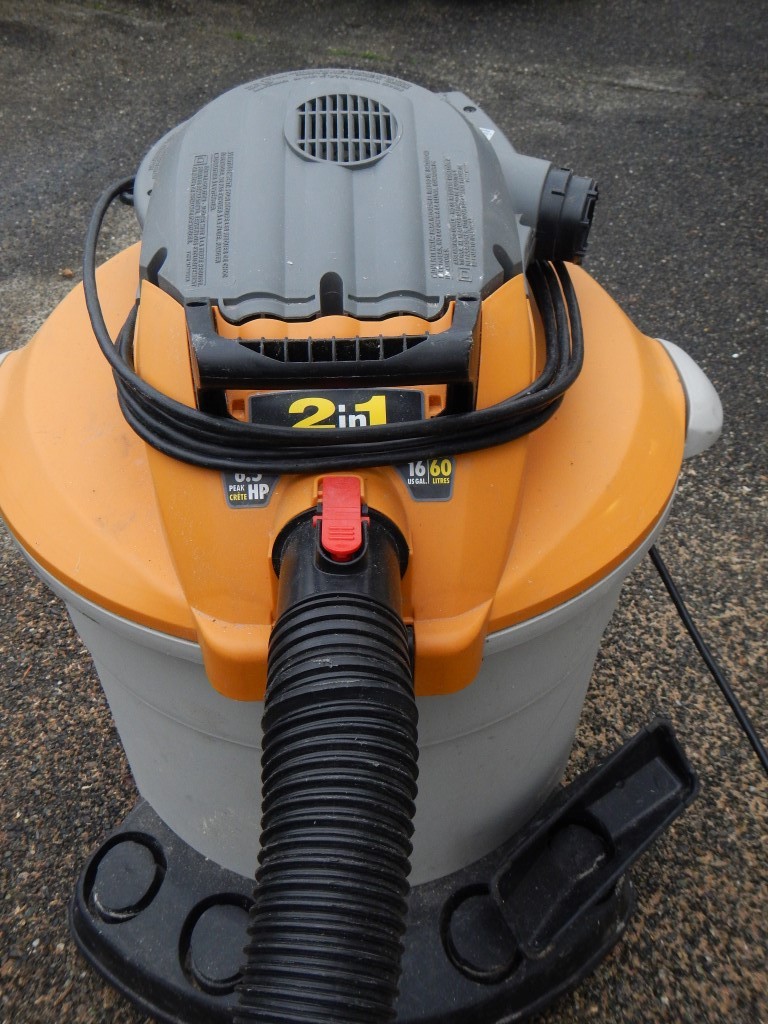
Start by removing everything (obviously) and then giving the car a good, thorough vacuuming. For this project, I’m using a Shop Vac because I know I’ll be dealing with some water here a few steps later. Incidentally, I love my Shop Vac! It gets used for all kinds of projects. Don’t have one? They actually aren’t that spendy. I found one for under $60 right now on Amazon (of course this could change at any point, but it definitely is affordable!)

Next, the part I’d been waiting for – the part where I attack those stains so they don’t know what hit them! I sprayed doused them with the Awesome Laundry Pre-Wash….
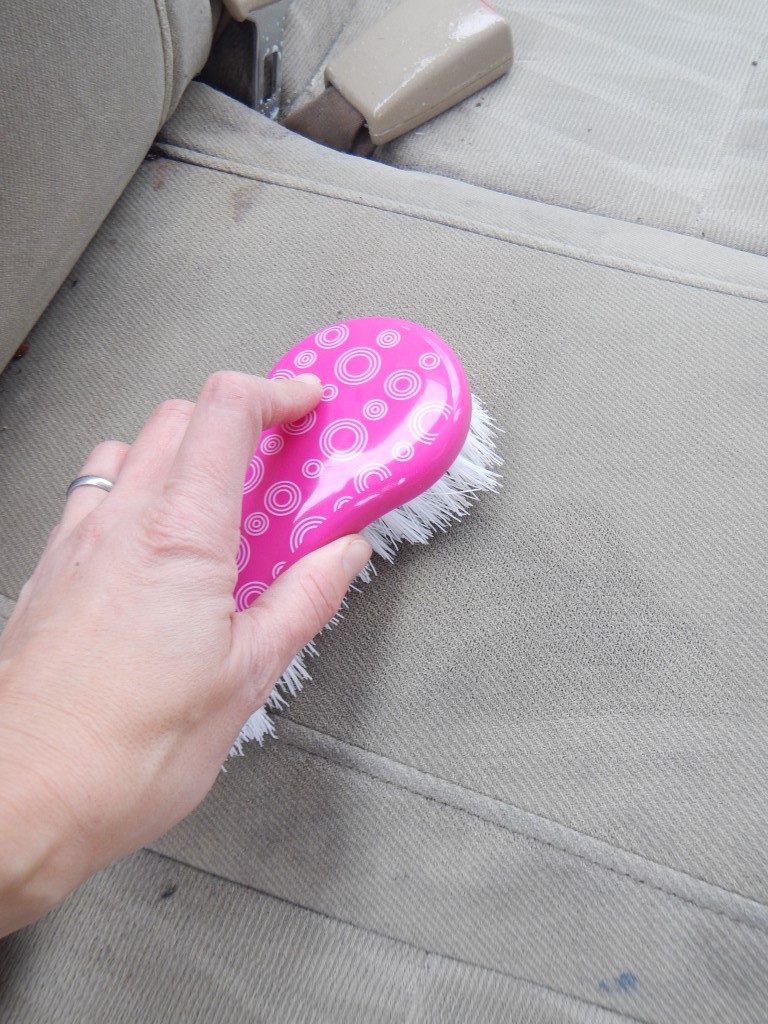
And then scrubbed them with the scrubber.

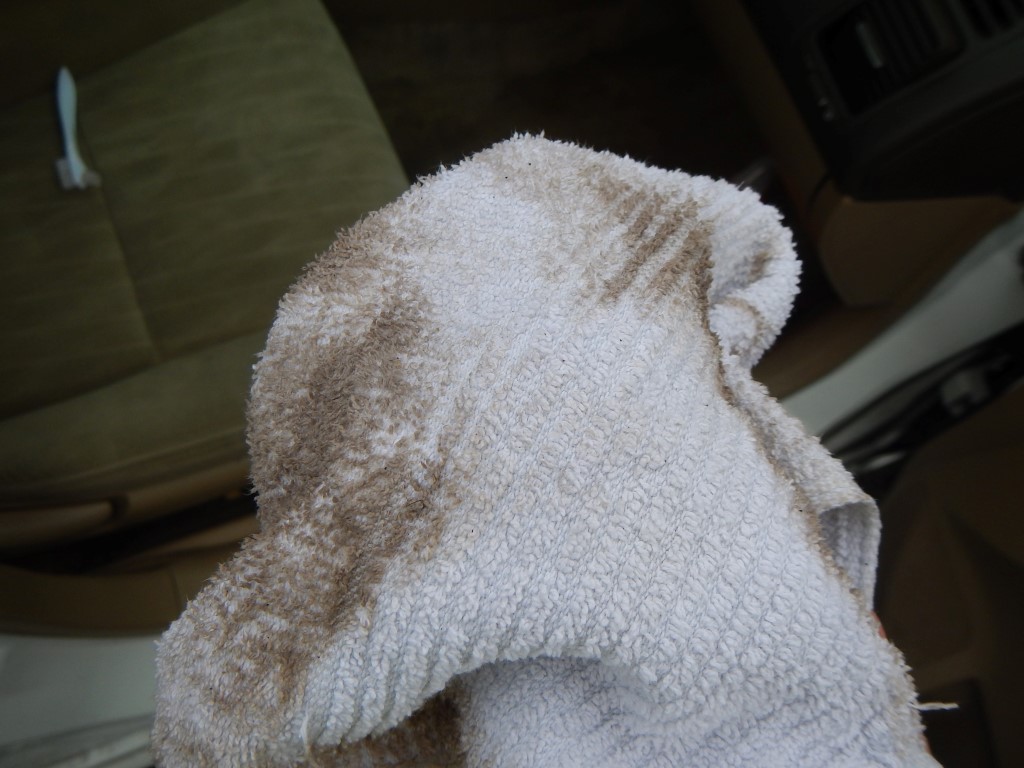
After waiting a couple minutes, I went back over the area with plain water that I filled in my dollar store spray bottle and used a microfiber cloth to pick up the wetness. I also went back over it all with the Shop Vac since this process had loosened up some more dirt. (Plus, it helps to suck up the water and hasten drying.)
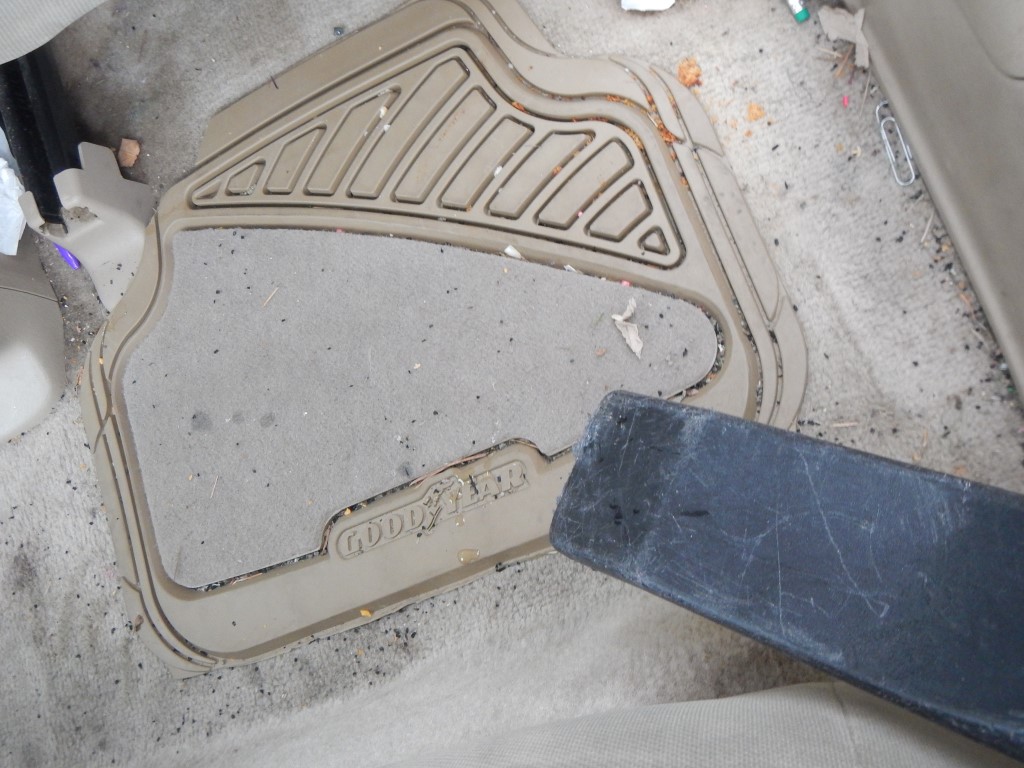
Next I got to work on my car mats. First, I started by vacuuming them. Oy, they are disgusting!
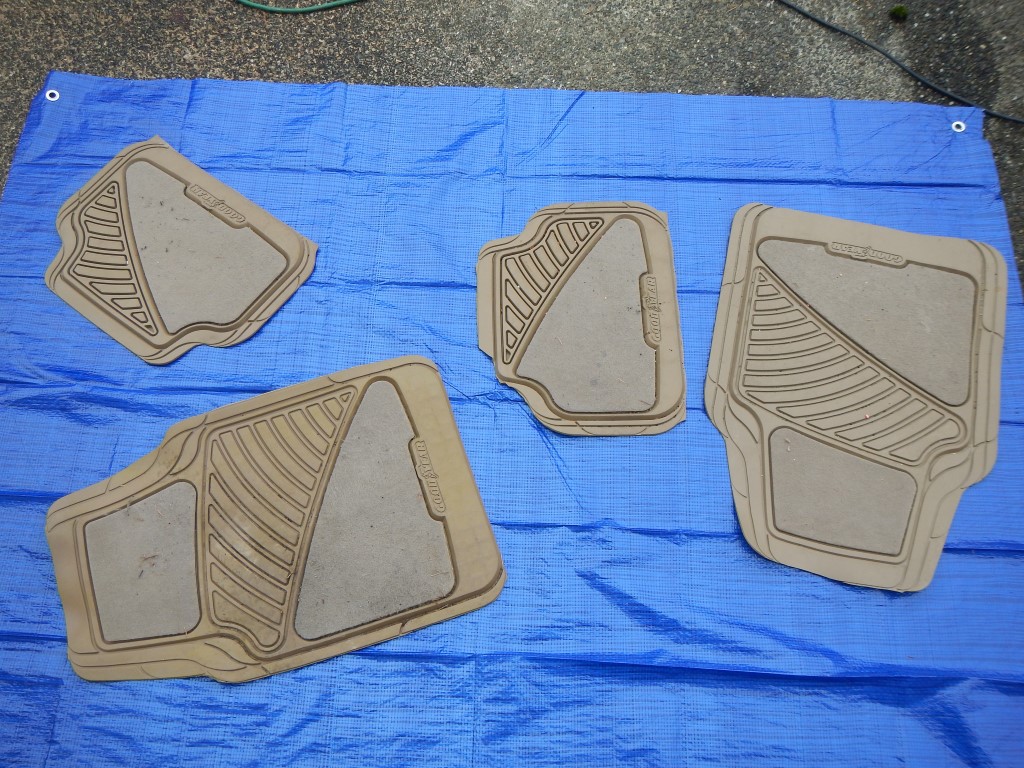
Here they are on the tarp I bought from the dollar store. What a great deal, by the way! I bet you could use those tarps for sooo many other things such as messy art projects (and basically, other projects that are more fun than what I’m using it for today).

For these, I opted to try the Awesome Oxygen Orange All-Purpose Degreaser. It seemed to work great! (And not bad for just $1!)
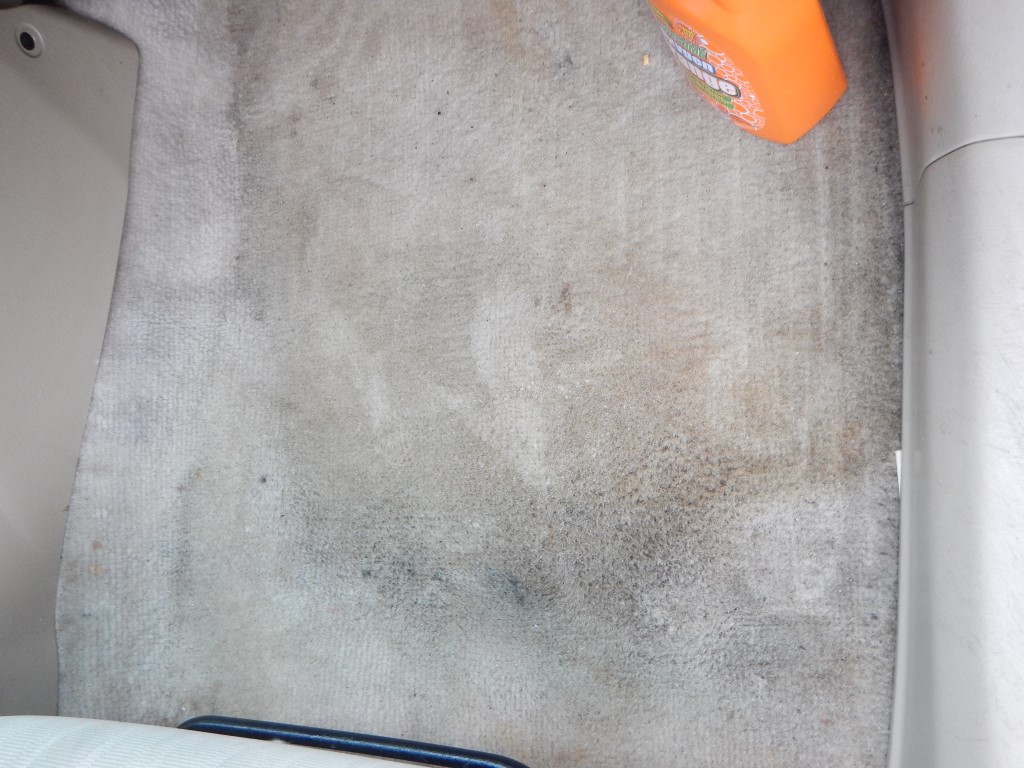
While the car mats were drying, I went back to the car and scrubbed in the Awesome Orange Degreaser on the carpet on the floors. I then used a towel to vigorously wipe up the dirt. I periodically vacuumed as I would loosen up the dirt in this process.
Look at all the dirt that was on the carpet! EW!!!
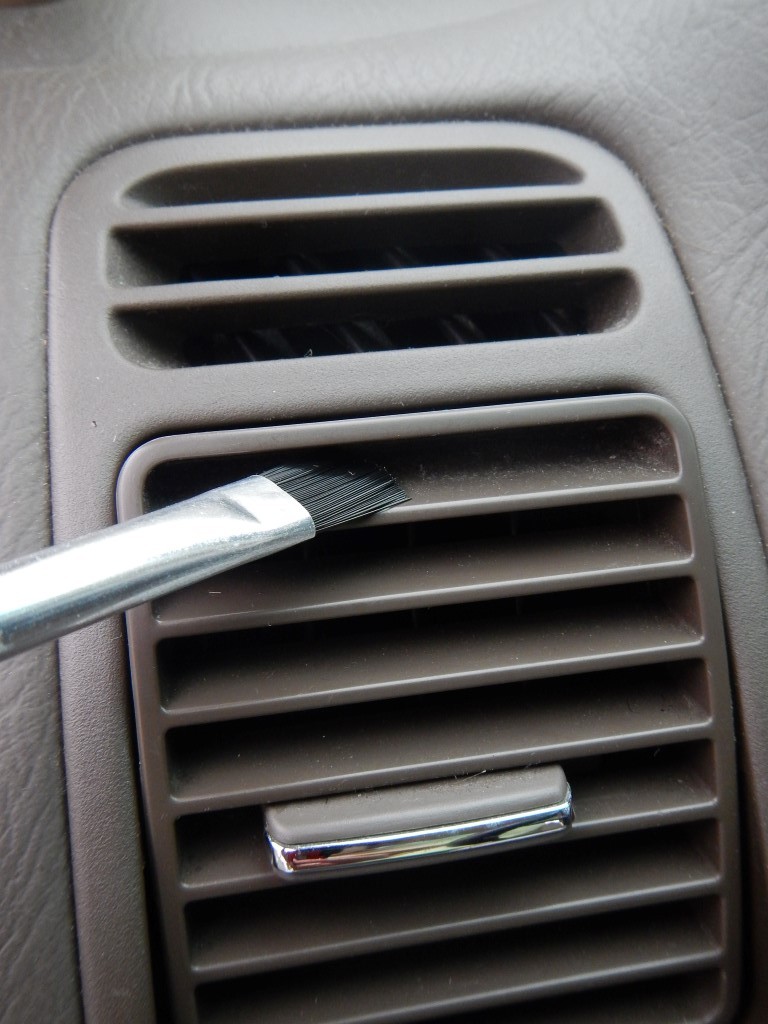
I was so eager to try my special “tools” out! I have to say though, the paintbrush idea was pretty much a fail. I think compressed air would be MUCH better and more thorough. Oh well, I’m sure my daughter will put those paintbrushes to good use!
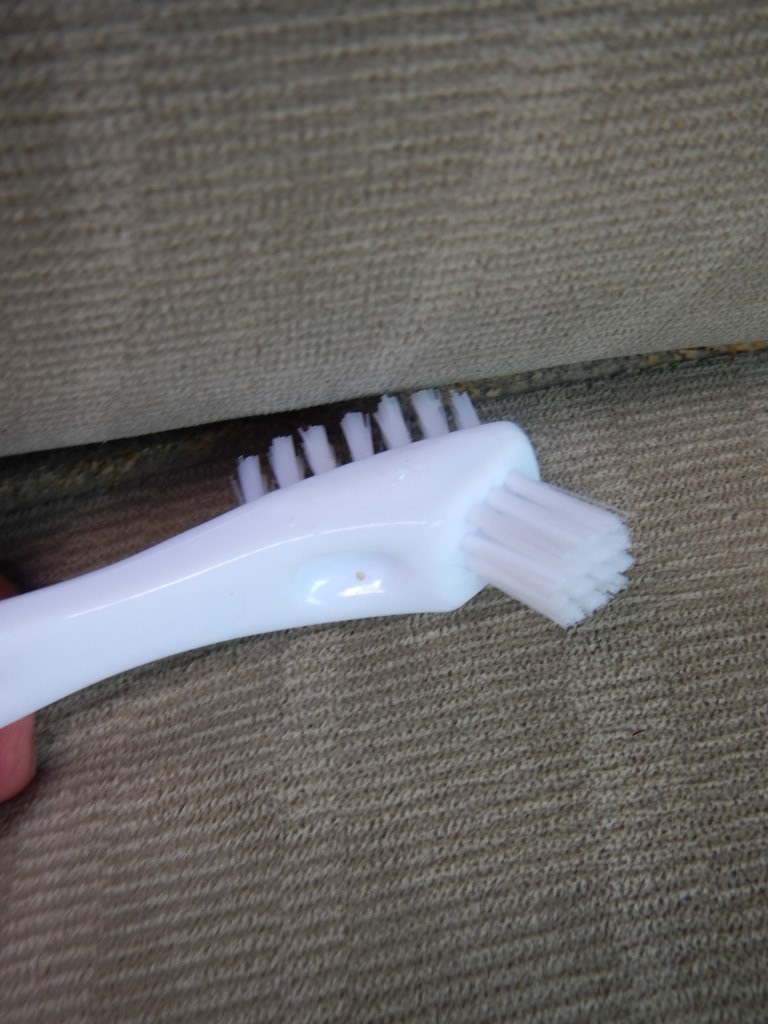
The toothbrush, on the other hand, worked awesome at cleaning cracks in the upholstery. (Although I hesitate to refer to it as a crack cleaner…)
All in all, this process took me about an hour and 15 minutes, including prep and putting things away, but excluding the time it took me to go to the Dollar Tree. There is more I could still do to clean my car, so it’s not 100%, but it’s a huge improvement over what it was this morning.
Ready to see?

Ta-Da!
Now, I won’t take offense if you decide there is something about my process you’d change. Really, my goal today was to share with you how I did something I was pretty pleased with for pretty cheap. I hope it inspires you some way so feel free to do your own thing! However, if you’d like to repeat exactly what I did – here are the steps.
What you’ll Need:
- Awesome Laundry Pre-Wash Stain Remover
- Awesome Orange All-Purpose Degreaser
- Scrub Brush
- Microfiber Towels and/or Rags
- Spray Bottle with Warm Water
- Tarp
- Toothbrush for Cleaning Small Spaces
- Shop Vac
What to do:
- Vacuum car. Remove car mats.
- Spray car seats with stain remover and work in using scrub brush.
- Vacuum car seats to remove loosened dirt. Allow to sit a few minutes.
- Spray with warm water and use dry towel or microfiber cloth to clean.
- Vacuum car floor mats and place on tarp.
- Spray with degreaser and clean with towel. Vacuum again if necessary.
- Spray car floor with degreaser and clean with towel. Vacuum again if necessary.
- Clean off dashboard, seatbelts, and other interior parts of car with whatever cleaners you have handy.
I’d love to hear what additional tips, tricks or ideas you have for how I could improve this process – please share by leaving a comment below!
I had never considered to use a toothbrush to clean the cracks in the upholstery. I have been looking for ways to really deep clean my car in a cost effective way. I could have someone do it, but they charge around 25 dollars. I’ll have to try your method and let you know how it goes.
I use a regular 2″ paint brush sprayed with my favorite go to cleaner, Lemon Pledge to clean my vents and crevices!! I have used this method for years and have passed it on to many with 100% reviews.
Maybe try q-tips with some furniture polish for the vents? It may help keep the dust off of them.
GREAT ideas! Thank you for sharing all of this. It inspires me to tackle my dog taxi!